Document Templates and Themes in XTRF
Document Templates and Themes in XTRF
Now you don’t have to install any additional software or be proficient in HTML to create your own templates. Shape your Document Templates and Themes in XTRF by using the Smart Template Editor.
Document Templates
In XTRF there are two types of document templates with different customizing tools. With BIRT-4 Templates you need to refer to external tools and import the final results to XTRF. With Open PDF Templates you can make changes and preview the outcome directly on XTRF.
Create and edit document templates
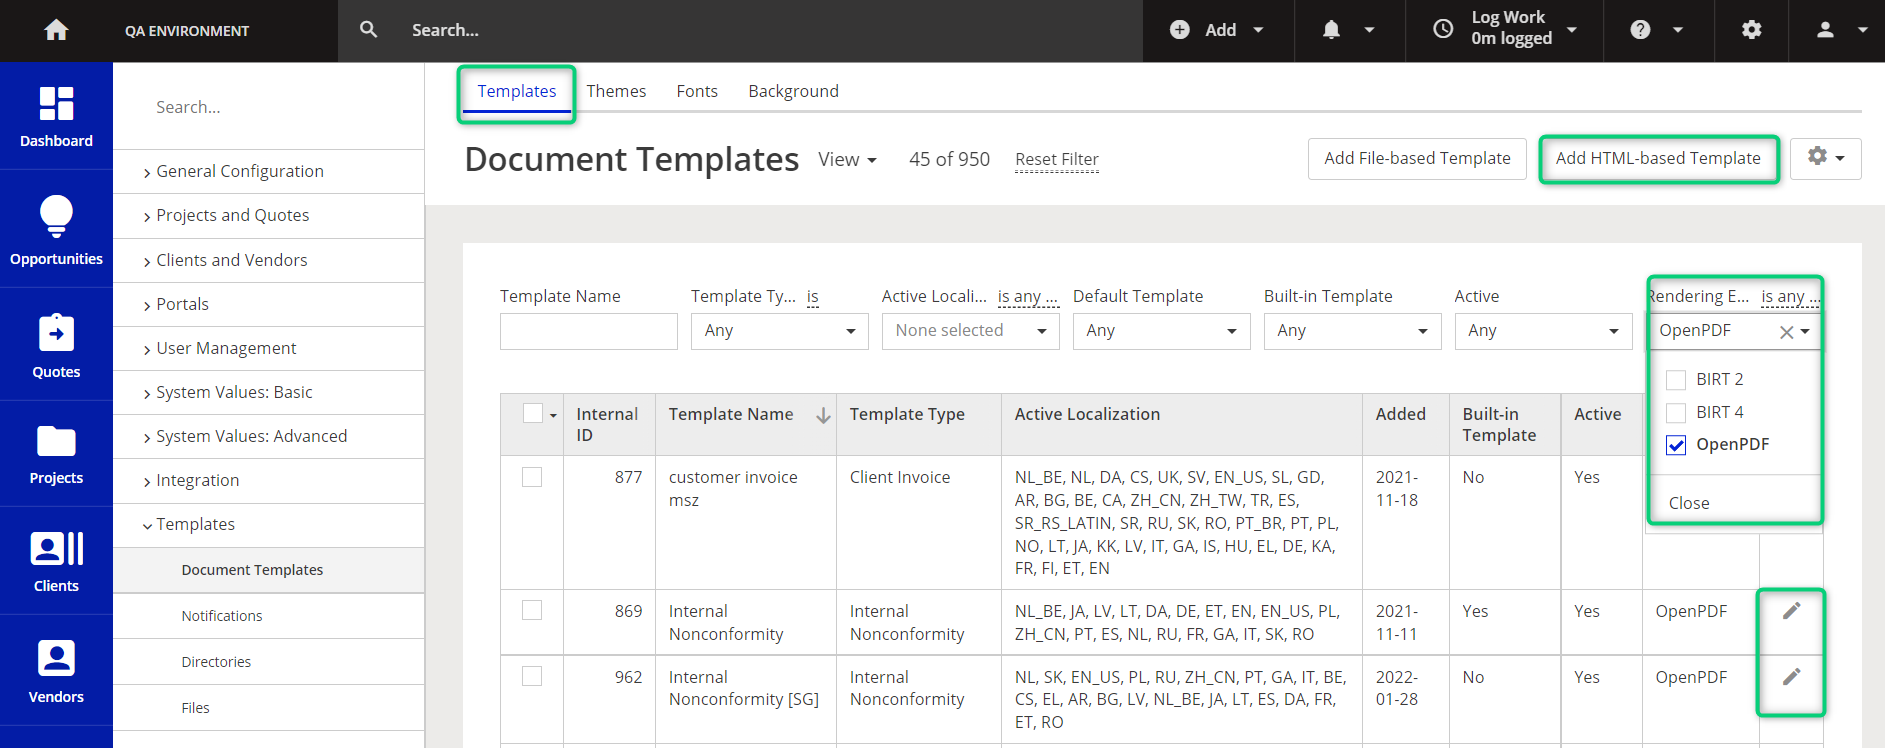
To access Document Templates, click on the Configuration menu > Templates > Document Templates > Templates tab. From the Rendering engine drop-down filter select OpenPDF to display HTML-based document templates.
If you want to edit an existing template, select one from the list and click on its Edit icon.
If you want to create a new HTML-based template:
- From scratch: click on the Add HTML-based Template button.
- From an existing template: find an active template, click the
Edit icon, then click the Copy button on top of the Templates display. A pop-up window ‘Saving Template’ appears, where you can rename the template and save it as new. This is the quickest way to establish new templates.
Document Template properties
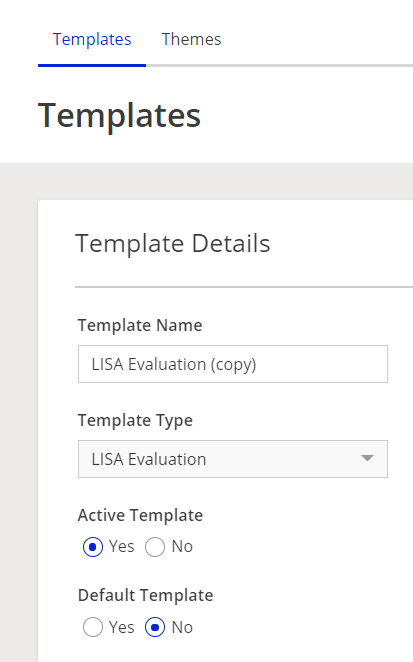
After you open a template, you can set up its basic properties in the ‘Template Details’ card:
- Template Name - can be changed at any stage.
- Template Type - specifies the type of the document. You can choose the template type from a drop-down list during the template creation, but you cannot change it later.
- Active Template (Yes/No) - ‘Yes’ means that this template can be used by everyone.
- Default Template (Yes/No) - ‘Yes’ means this template will be used by default for this template type. There is always one default template for each type: if not hand-picked, it’s pre-selected by the system.
Localization of Document Templates
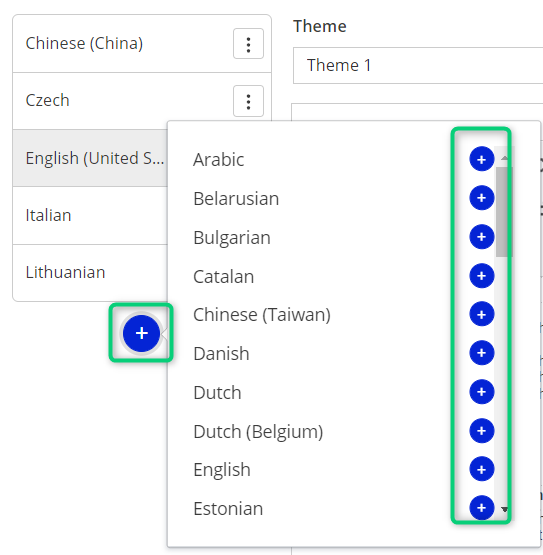
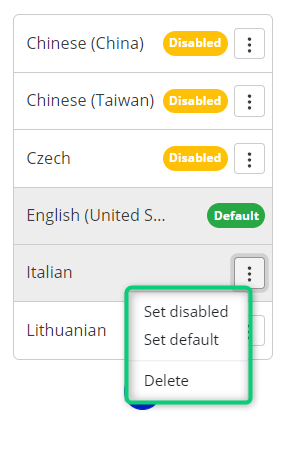
In contrast to BIRT-4 Templates, where each language version is a separate template file, HTML Templates in different language versions are just multiple sub-entities of the same document. You can manage language versions in the left-hand panel of the ‘Template Designer’ card.
Each language version can be enabled or disabled, but at least one will always remain enabled. One of the enabled languages can also be set as a default one for a given template. Each template always has a default language version. Disabled language versions can be deleted.
When generating or sending documents for your clients and vendors, the system will automatically use the language version that matches the preferred language for the e-mails of the recipient. If the required language version of the document is not enabled, the default localization will be used instead.
Note: From XTRF v 9.2 onward, the language of the Client Portal’s interface and the preferred language for the Client’s emails & documents became separate settings. The language of the template should not differ from the preferred language for the e-mails in the client’s profile, otherwise, the template won’t be displayed correctly. Please bear in mind that certain languages have different locale codes, for example, EN-GB and EN-US. The system defines them as different languages, so make sure those settings are aligned as needed.
To learn more about the clients’ language settings, see the Setting communication language for Clients article.
Smart Template Editor for document templates
The Smart Template Editor is a visual editor used for creating or improving all language versions of templates. It is intuitive and accessible and resembles other standard document editors. A similar interface is used in XTRF for editing notification templates, so if you have been using it, you will have an additional head start.
Tip: you can switch between the full screen and window view by clicking on the Screen icon.
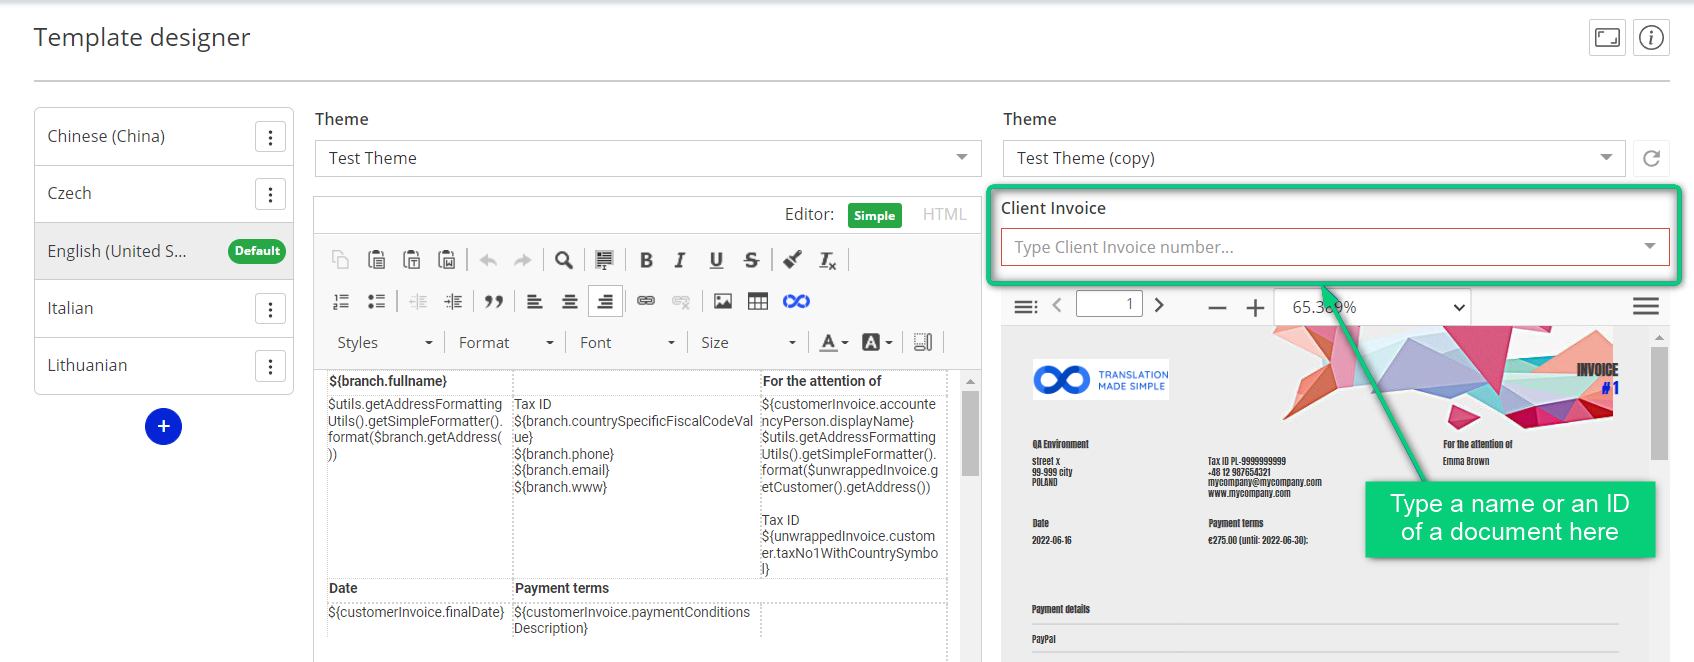
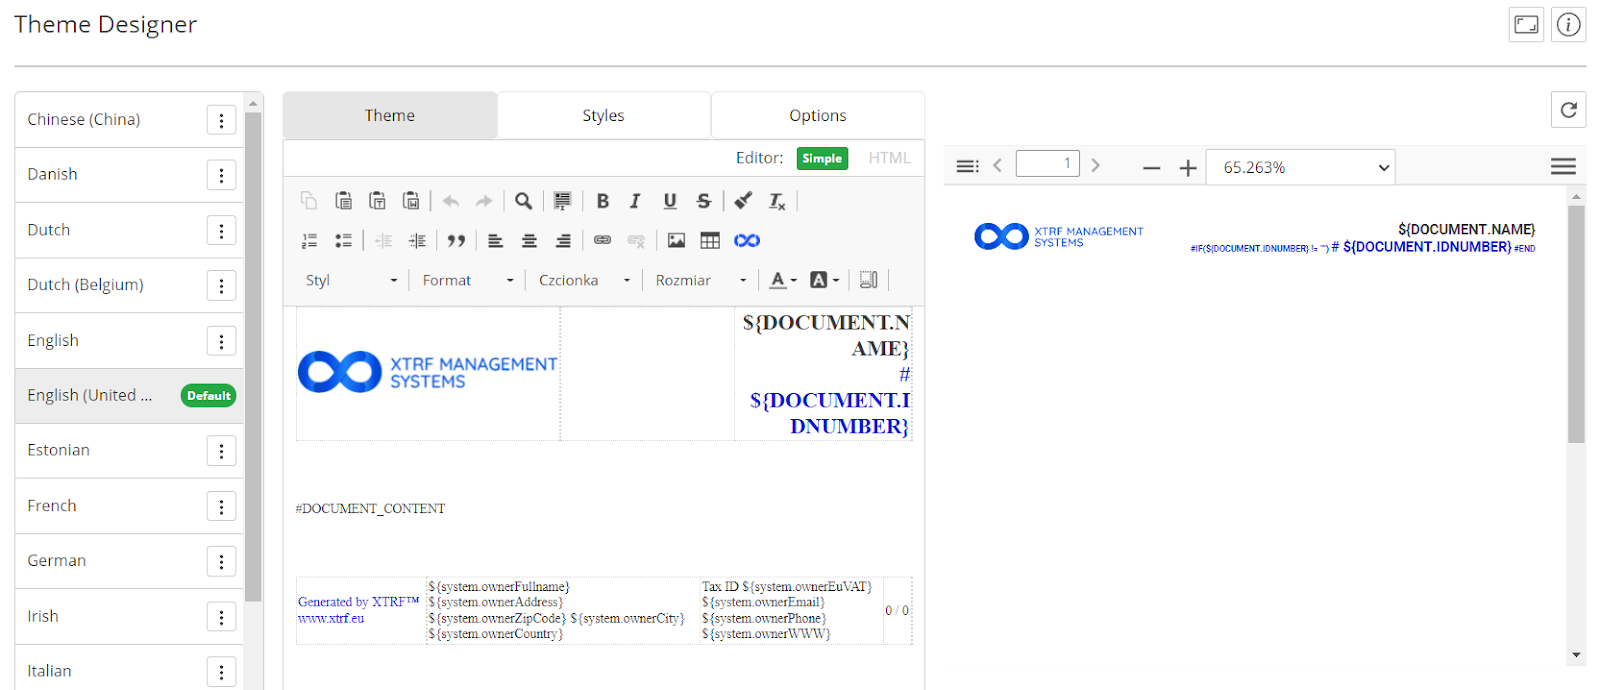
In the Template Designer card you can see two big panes next to the language panel:
- The left pane is a content editor. Here you can design the body of your document template and specify the theme. You can switch between the visual editor and HTML editor at any time by clicking on the buttons in the top-right corner.
- The right pane allows you to preview the results. It shows how the final document would look with different themes applied and on a particular document example. To select a document, start typing its name or ID, and a drop-down list with fitting document names will appear. Once you select the document and the theme, the preview will be rendered automatically in the window on the right. The preview is equipped with options like pagination, scaling, page turning, rotating, etc, available in the
Menu.
Note that there is a ‘Theme” drop-down list on each pane. On the left pane, you choose the default theme for the template, on the right you can select different themes just for preview purposes.
If you’re satisfied with the result, scroll to the top and click on Save to confirm changes.
Using templates in macros
The templates you create may be used to generate documents with the help of macros. To learn how to work with those macros see the Utilizing macros in XTRF article.
Note: Please make sure NOT to use the 'ReportTemplateService' class in your macros. It does not correspond with current versions of the system and may cause malfunctions in template settings. Use the 'DocumentTemplateService' class instead.
Template tags
To add tags to your templates, click on the Insert XTRF tags icon on the toolbar. A tag tree appears. Start typing the tag’s name into the search bar or select it from the tree. Click on the appropriate tag to add it to the document.
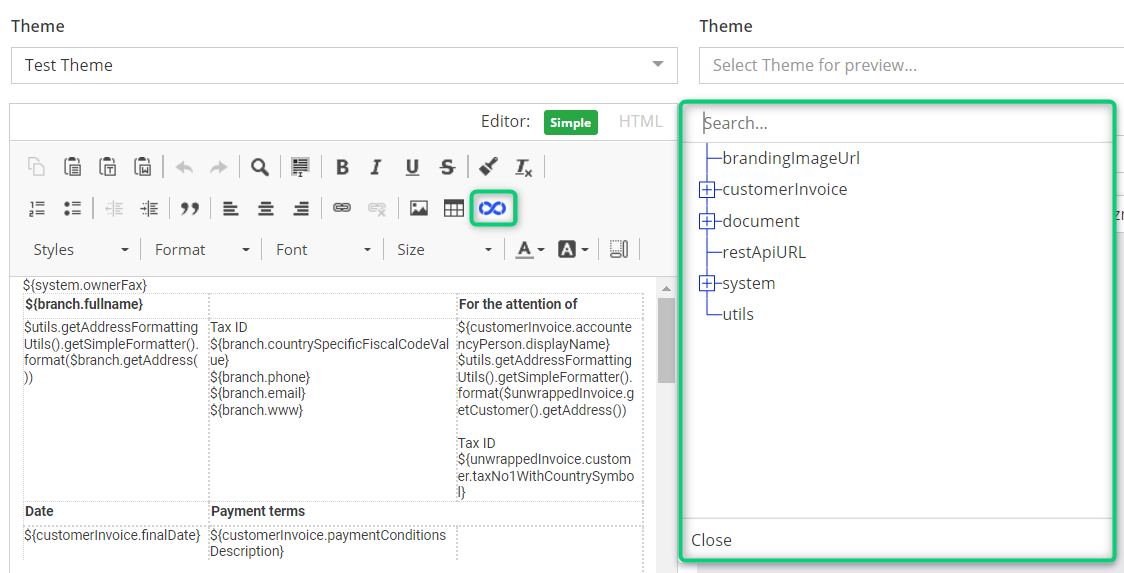
To ensure the correct display of the template blocks in the final document, place new tags in the separate blocks. To do so, click on the Show Blocks icon on the toolbar to see the document’s structure. Next, click on the empty space where you want to place the new tag and click on the
Table icon. Another option is to add a new row to an existing table. To do so, left-click on a cell and select Row > Insert Row After (Before).
Note: If you want to add information that is not covered by the existing tags, you can use Apache Velocity language to get the necessary data. If you need technical assistance, you can get support from our Customization Team. Please bear in mind that this is a paid service and contact your Customer Success Manager for details.
Add an image
There are two ways to add an image to a template:
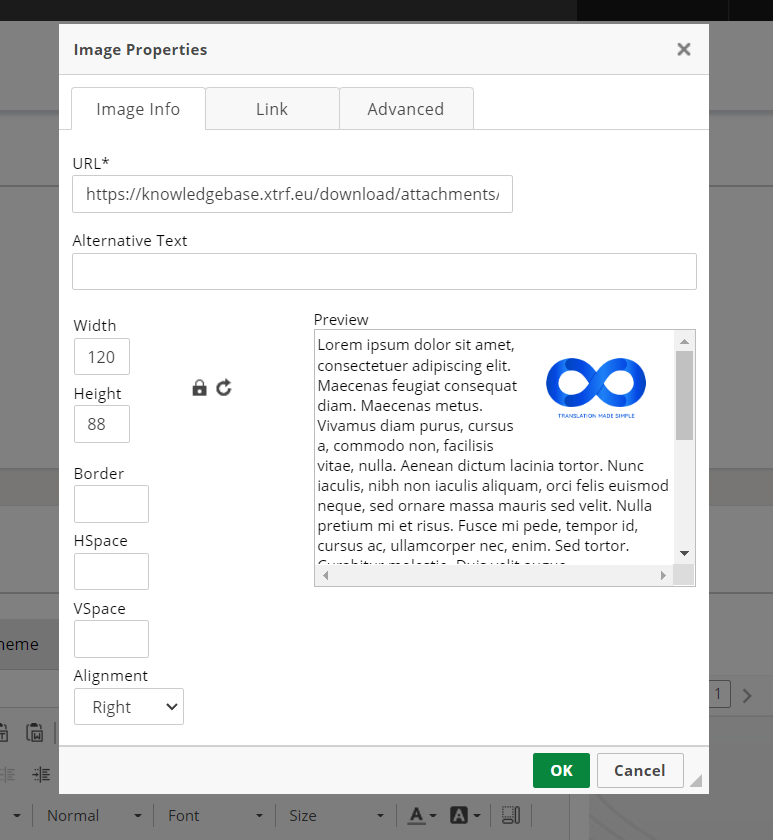
- From a URL. Click the
Image button on the toolbar. An ‘Image Properties’ pop-up window appears. Here you can add a link to a JPEG or PNG image, align it, change its dimensions, set borders, and preview the result.
- From the clipboard. Copy the image from any source and simply paste it into the appropriate block of a template.
Note: To get a URL for an image from your local machine go to Configuration menu > Templates > Notifications. Select the E-mail Images tab and click the Add files… button at the bottom of the image list. Upload an image from your computer and click on the Link button next to it. The image opens in a new tab and you can copy its URL from the address bar.
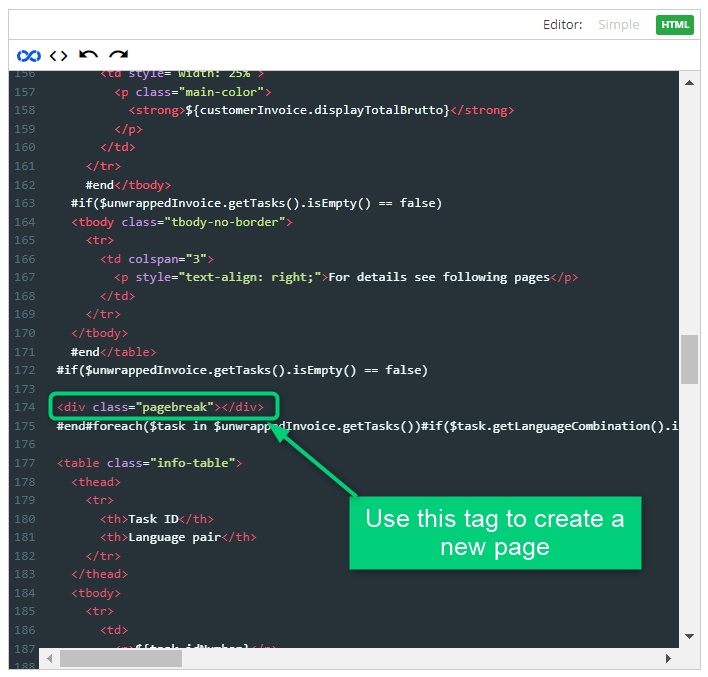
Add and remove pages
To add or remove pages in a template, switch to the HTML editor. Use CSS commands to add a page break or delete the unnecessary lines.
Document Themes
Themes define the styling of the main body, the header, and the footer of the document. You can predefine multiple themes and their language variants as needed.
Create and edit document themes
To access document themes, click on the Configuration menu > Templates > Document Templates > Themes tab.
If you want to edit an existing theme, select one from the list and click on its Edit icon.
If you want to create a new theme:
- From scratch: click on the Add New Theme button.
- From an existing theme: find a theme that is active but not a default one, click
Edit, then click the Copy button on top of the Themes display. A pop-up ‘Saving Theme’ window appears, where you can rename the theme and save it as new. This is the quickest way to establish new themes.
Document theme properties and localization
See the Document template properties and Localization of document templates sections of this article as the same rules apply to themes and templates.
Note: If you want to use one theme for all language versions of a certain template, add only one default language. You can add other languages on the template level.
Smart Template Editor for document themes
In the Theme designer card you can see two big panes next to the language panel:
- The left pane is a content editor with three tabs:
- The ‘Theme’ tab shows the content. You can switch between the visual editor and HTML editor at any time by clicking on the buttons in the top-right corner.
- The ‘Styles’ tab shows the CSS parameters of each theme.
- The ‘Options’ tab helps you set the font and customize the background.
- The ‘Theme’ tab shows the content. You can switch between the visual editor and HTML editor at any time by clicking on the buttons in the top-right corner.
- The right pane is for preview. It shows how the content would look with selected styles. The preview is equipped with several options like pagination, scaling, page turning, rotating, etc, available in the
Menu.
Add images and manage pages
See the Add images and Add and remove pages sections of this article as the same rules apply to themes and templates.
How to set fonts and backgrounds for themes
Click on the Configuration menu > Templates > Document Templates and click on the respective tab (‘Fonts’ or ‘Background’).
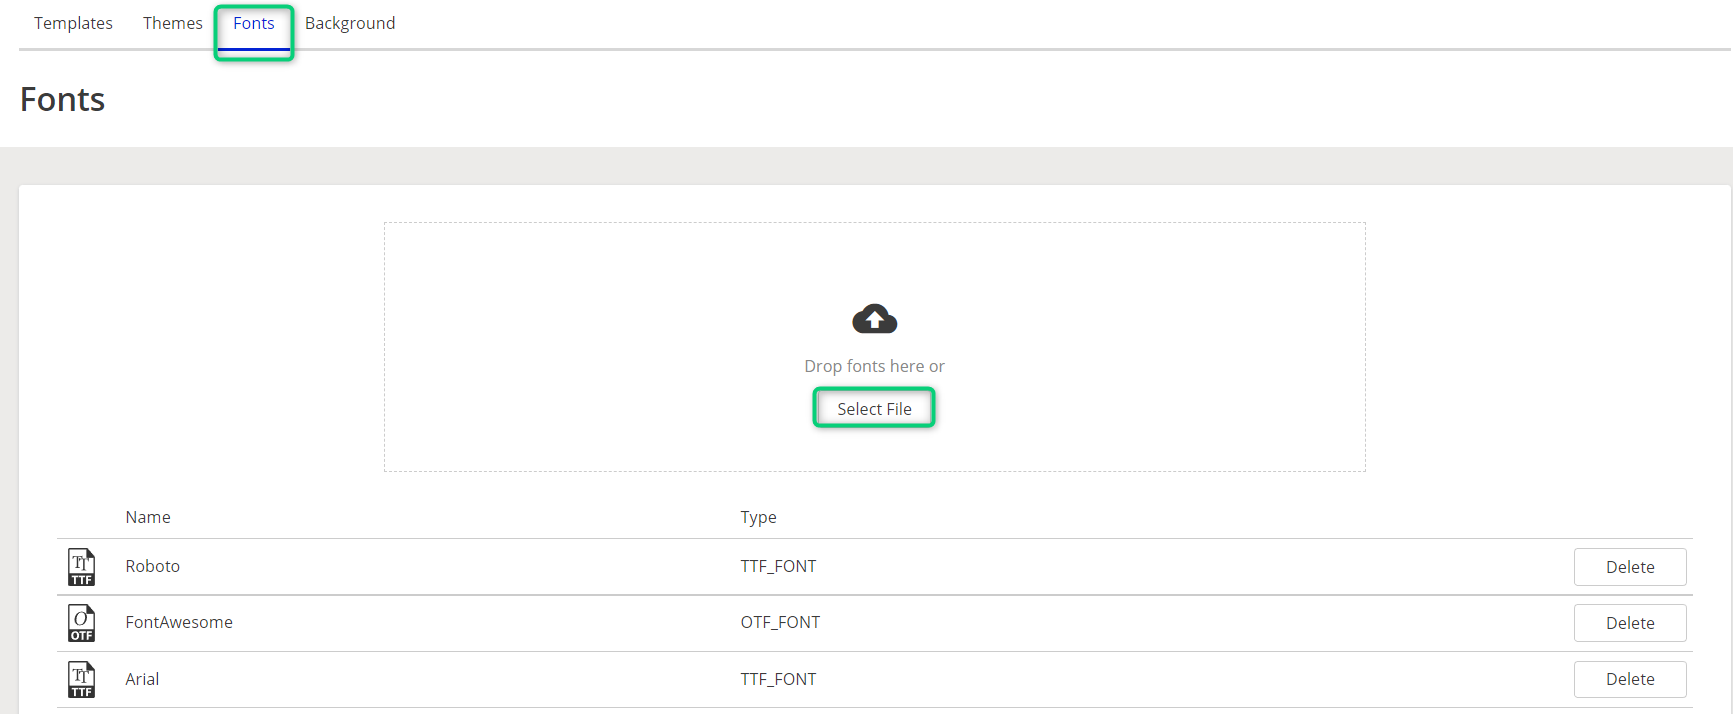
Upload fonts
In the Fonts tab drag the font files onto the field or click the Select File button to upload them from your hard drive. The list of available fonts is displayed below. You can upload only OTF and TTF fonts with a maximum size of 25 MB.
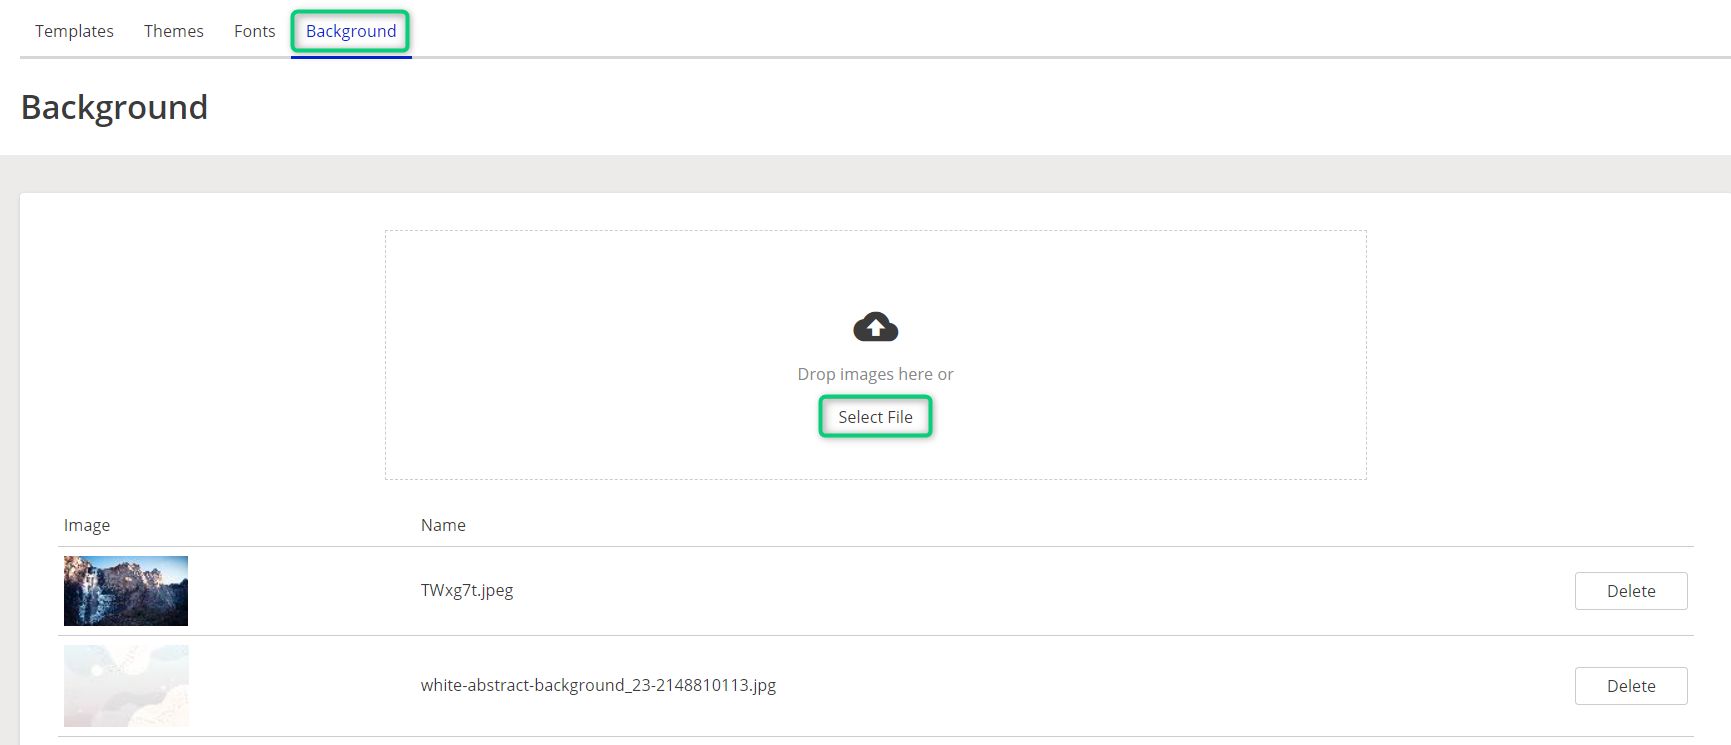
Upload background images
In the Background tab drag the image files onto the field or click on the Select File button to upload them from your hard drive. The list of available images with previews is displayed below. You can upload only PNG and JPEG images with a maximum size of 5 MB.
Using custom Font and Background
Go to the Theme Designer card of a selected theme. In the left pane go to the Options tab.
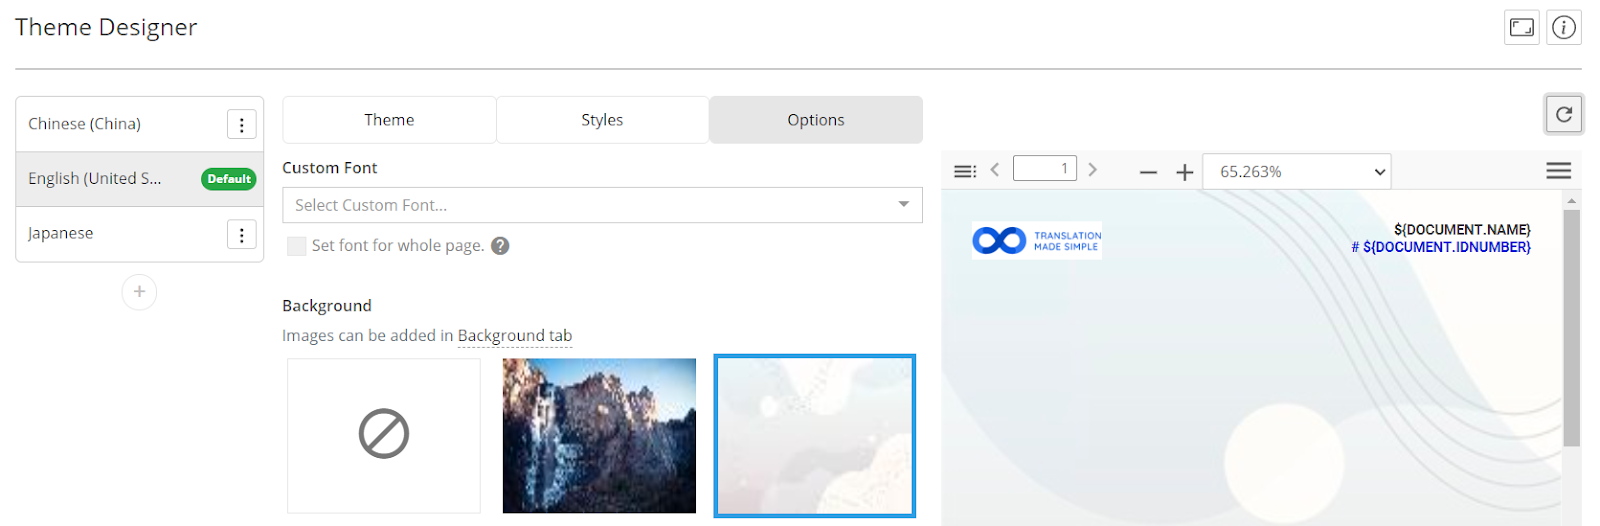
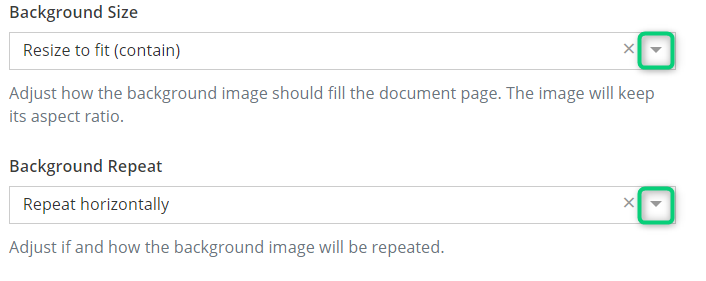
Select the desired font from the drop-down list and the background image from the list of available images. Below the list of images, you will find further background options. Click on the drop-downs to adjust the background size and repeat patterns.
Note: Selecting the font makes it available for editing within the theme, but doesn’t automatically change the existing fonts. Use CSS to apply the newly selected font to certain elements. If you want to apply the font to every text in the theme, select the Set font for whole page checkbox.
In the right pane click on the Refresh icon to see the preview. If you’re satisfied, scroll to the top of the page and click on Save to confirm changes.
Note: Changes in the 'Options' tab are saved automatically and therefore don’t activate the Save button.
Note: Built-in document templates pull the logo image for the theme directly from the Configuration Menu > General Configuration > Branding > Logo tab. If you wish to apply your own logo, change the settings in the branding configurations or replace the logo file directly in the themes editor.
Customer support service by UserEcho
