How to brand emails in XTRF
This is an old version of the article. Please check the most up-to-date version in our new Knowledge Base.
Customize your XTRF email themes and templates to send branded communication to Vendors and Clients.
Themes vs Templates
An email theme is a visual style that defines both typography and imagery, headers, footers etc. Email themes are later used to illustrate email templates. Templates are used to predefine the content of individual emails.
The default theme for email notifications includes XTRF logos and "Powered by XTRF" messages. All emails sent by the system contain them. You can reduce the XTRF branding or remove it altogether in all outgoing emails by creating your own themes.
How to customize an email theme in XTRF
Click on the Configuration Icon > Templates > Notifications > Themes. Then Click on
Edit Icon to edit an existing theme, or click on Add to create a new theme from scratch.
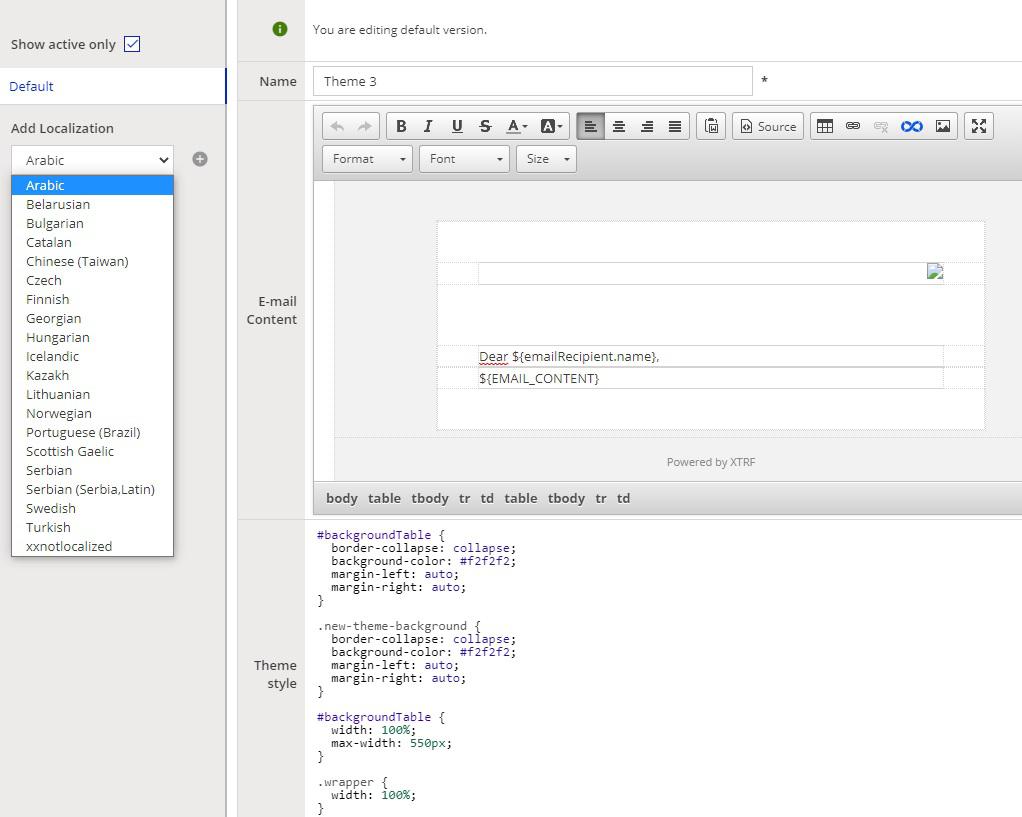
The editing window contains both a visual and CSS editor.
How to use the rebranded (but default) XTRF email themes
XTRF has received a visual overhaul with version 9.0. However, existing email themes have not been visually updated. For these changes to take place, all the individual theme customizations would have to have been erased and returned to defaults.
If you still wish to use the redesigned, default XTRF email themes, and customize from there, follow these steps.
- Click on the
Configuration Icon > Templates > Notifications > Themes.
- Click on
Edit Icon to edit an existing theme, or click on Add to create a new theme from scratch.
- Select the language version of the theme from the list on the left (if alternate language versions exist.
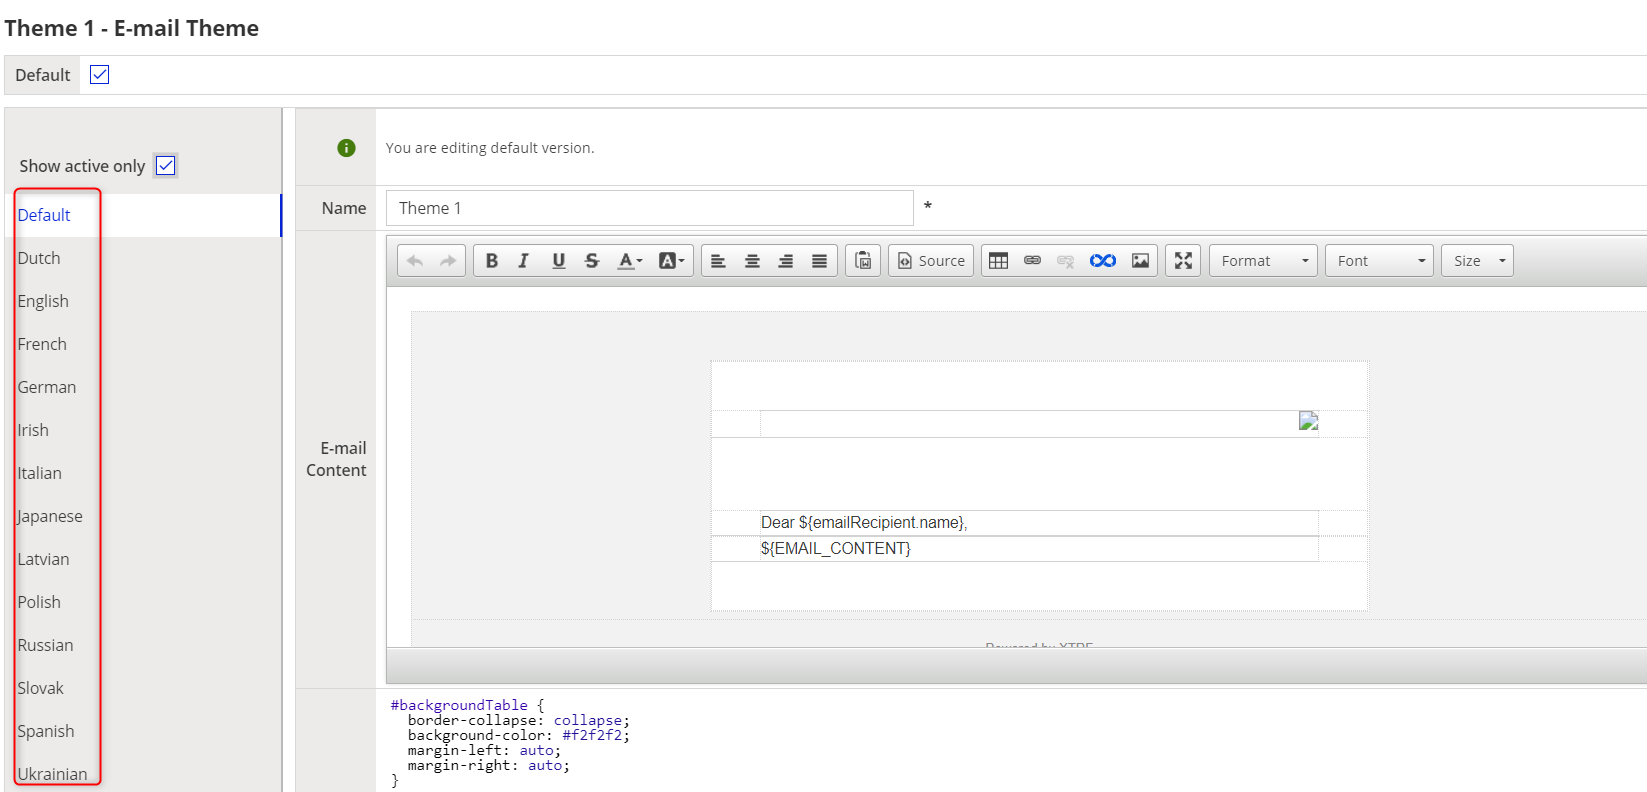
- Click on Restore and then Restore Style buttons at the bottom.
- Click on Save.
- (Optional) Repeat steps 2-5 for each language version separately.
How to customize an email template in XTRF
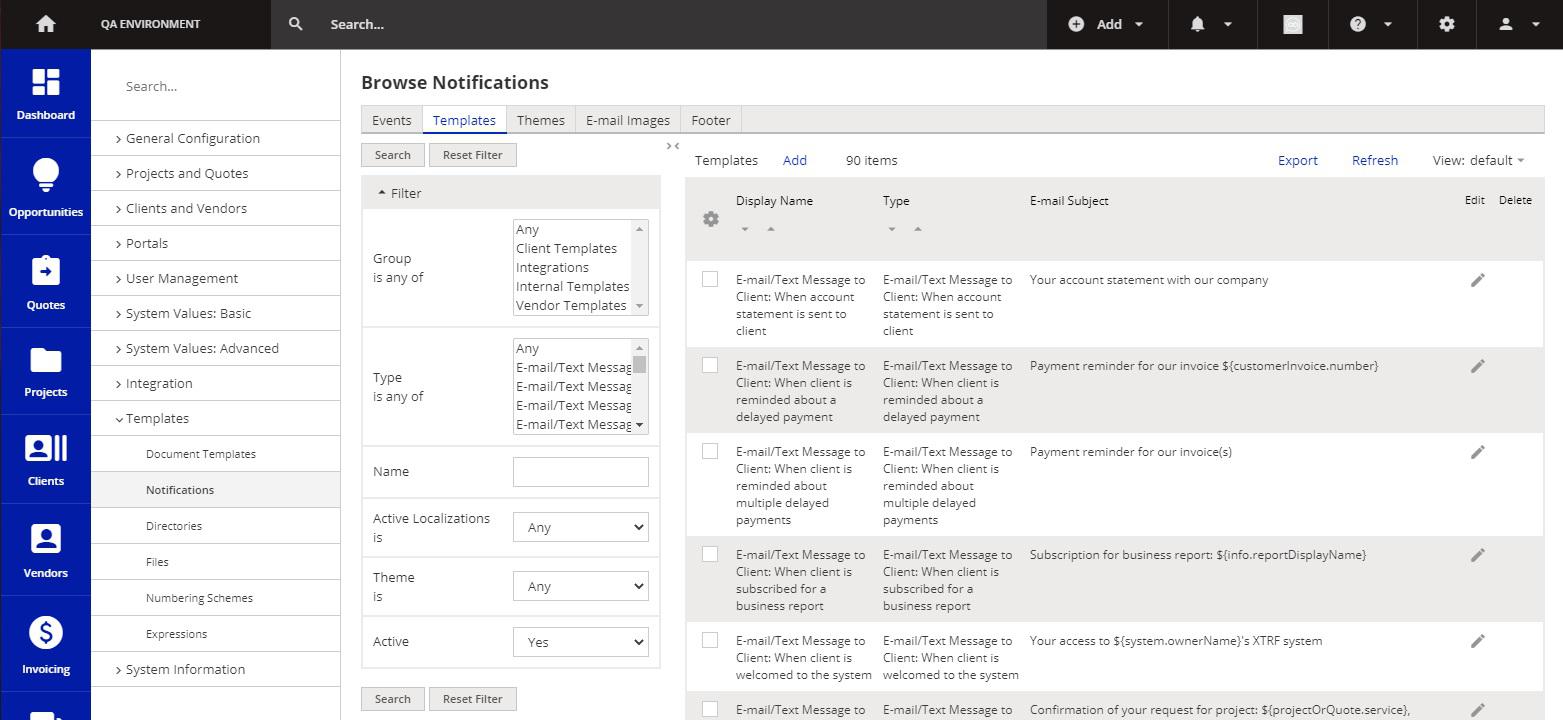
Click on the Configuration Icon > Templates > Notifications > Templates. Then Click on
Edit Icon to edit an existing theme, or click on Add to create a new template from scratch.
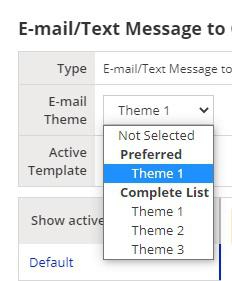
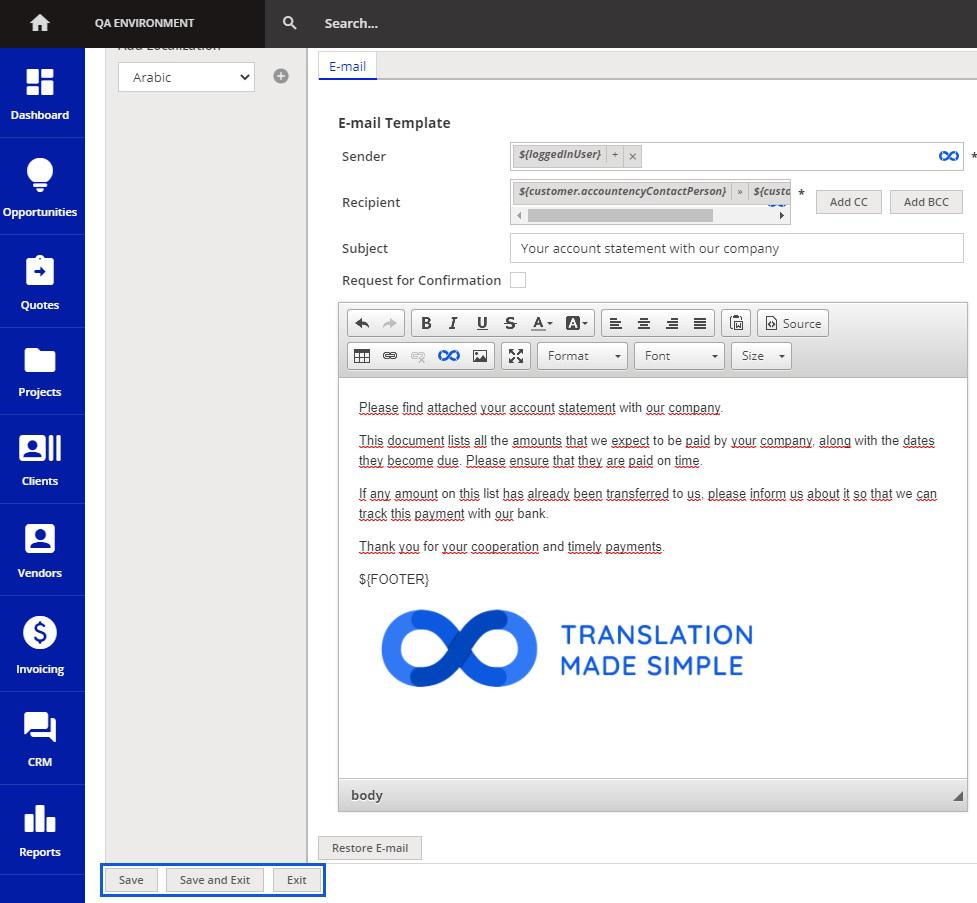
Once in the template editing window, choose the theme for the template from the drop-down list.
Proceed with creating the content of the template or rebuilding an existing one. Use the visual editor and HTML.
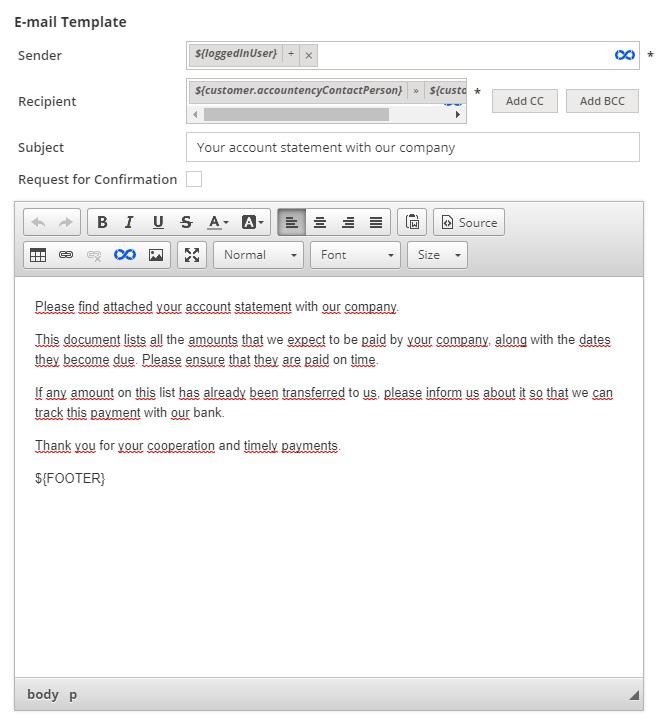
How to add images to email themes and templates
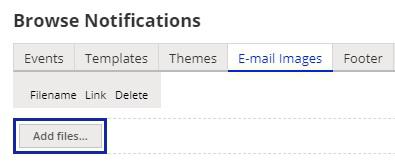
1. Click on the Email images tab.
2. Click on Add files and upload an image.
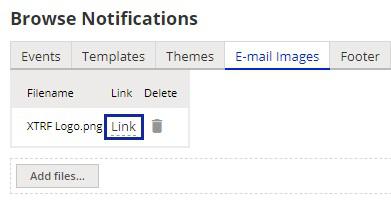
3. Copy the Link.
Then, back in the Theme or Template Editor, click on the Image Icon.
4. Paste the URL of the image you copied earlier. Specify any other properties if necessary, and click OK.
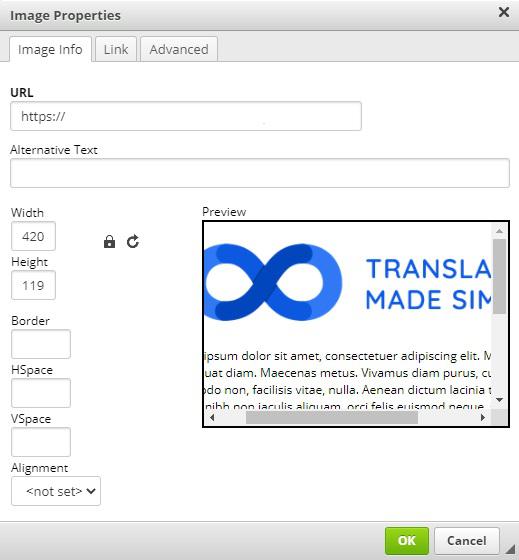
Now the image is visible and will be used whenever the notification is triggered.
Note
You can also customize branding of the user interface across all XTRF portals. See this article for more details.
Customer support service by UserEcho

